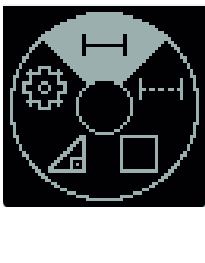
Measuring functions
- Press the
 button to open the Functions menu.
 - Select the length measurement
 and confirm the selection with the
  button.
 - Briefly press the button to switch on the laser.
- Press the button to start the measurement.
- The measured value is displayed in the result line (f) at the bottom of the display.
- Repeat the above-mentioned steps for each subsequent measurement.
If several length measurements are taken in a row, the results of the last measurements are displayed in the measured value lines (e). The last measured value is at the bottom of the display, the penultimate measured value is above it, and so on.
During continuous measurement, the measured value is continually updated. You can, for example, move a required distance away from a wall while reading off the current distance at all times.
- Press the button to open the Functions menu.
- Select continuous measurement
 and confirm the selection with the button.
 - Briefly press the button to switch on the laser.
- Move the measuring tool until the required distance is shown on the display.
- You can interrupt the continuous measurement by briefly pressing the button.
- Press the button again to continue the continuous measurement.
The current measured value is displayed in large figures for better readability.
Continuous measurement switches off automatically after 4 min.
- Press the button to open the Functions menu.
- Select area measurement
 and confirm the selection with the button.
 - Briefly press the button to switch on the laser.
- Press the button to start the first measurement, e.g. the length of a room.
- Press the button to start the second measurement, e.g. the width of a room.
After the second measurement has been completed, the area will be automatically calculated and displayed. The result is displayed in the result line (f). The individual measured values are in the measured value lines (e).
The Indirect height measuring function is used to measure distances that cannot be measured directly because an obstacle would obstruct the laser beam or no target surface is available as a reflector.
Indirect height measurement is always less accurate than direct height measurement. For application-related reasons, measuring errors can be greater than with direct distance measurement.
The laser beam remains switched on between the individual measurements.
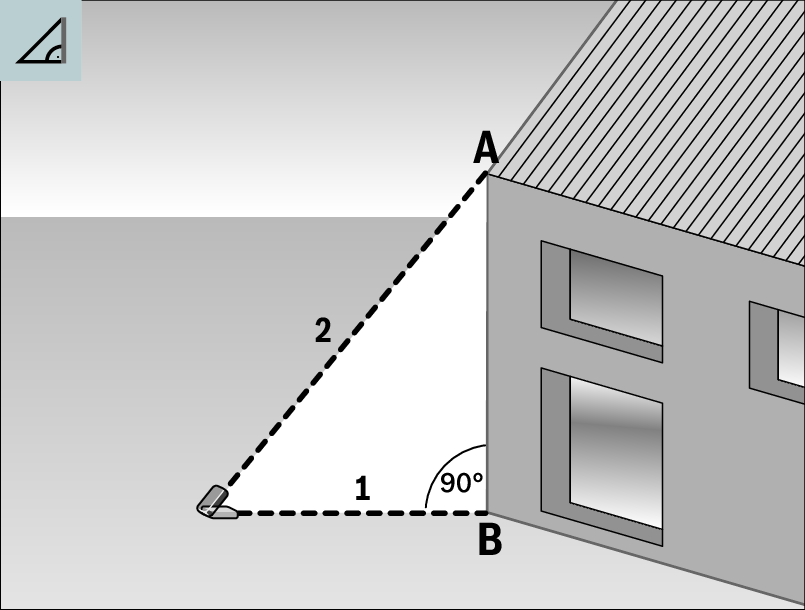
With the Indirect height measuring function, you can determine distance AB by measuring distances 1 and 2. The measuring tool calculates the required height AB from distances 1 and 2.
Correct results are achieved only when the right angles required for the respective measurement are exactly adhered to (Pythagorean Theorem). Ensure that there is a right angle between the sought-after distance AB and the horizontal distance 1.
- Press the button to open the Functions menu.
- Select indirect height measurement
 and confirm the selection with the button.
 - Briefly press the button to switch on the laser.
- Place the measuring tool at the height of the lower measuring point B.
- Press the button to start the first measurement.
- Tilt the measuring tool so that the laser is pointed at the upper measuring point A.
- Press the button to start the second measurement.
After the measurement has been completed, the height will be automatically calculated and displayed in the result line (f). The measured values for distances 1 and 2 are in the measured value lines (e).